|
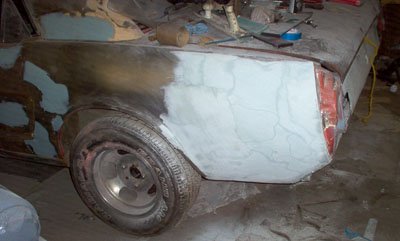
Mustang Restoration Part 3Here's how the 1965 Ford Mustang coupe rear quarter panel for the Mustang restoration looks after sanding.
Checking the Quarter Panel for FlatnessIn classic car Restoration or any other body work for that matter, as a final check for flatness, I usually shine a light from the front of the car to the back and look along the edge to see if there are any ripples in the body panel of the car.
Any shiny paint left on the primer background means that, this part of the surface is still low and needs to be further built up with the high build epoxy primer surfacer.
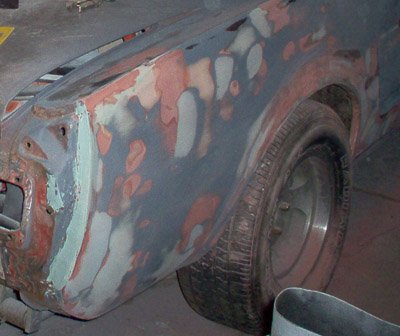
Body Panels Requiring More WorkIn the course of finding my next project Ford Mustang to restore, (a 1970 Fastback)I again, realized just how fortunate I was, with the condition of my 1965 Ford Mustang coupe. Save for the usual floor rust, which I've replaced in Part 5 Floor Pan Restoration section (see the link at the bottom of the page) and is common to all classic Mustangs, this little pony was all there. Yes, it'd had some minor fender benders over the years (one of the things easy to see when you remove all the paint and body parts) but it was all there. The biggest issues to address on this Mustang restoration and the entire body, are only minor irregularities in the surface of the drivers side rear quarter panel and the rear tail light panel.
Next StepWell, I'm close but not quite there, so seeing as there are no major low spots, I'll follow up with another build up of primer surfacer and do another sanding. Once I'm satisfied with the flatness, I'll spray on a final primer coat and move on to the opposite rear quarter and do the same. The situation there, is relatively the same. There are no rust-outs or major dents, but time and shopping carts have taken their toll and there are a number of small, but noticeable dents that would otherwise ruin a perfectly good paint job. So the same steps taken on the other quarter panel will be done here, from overall skim coat and long boarding, to spot filling, spraying primer surfacer and sanding it for paint prep. When it looks and feels right to the touch, we'll leave Mustang restoration part 3 and move on to
inner and outer fender restoration - Part 4
where we'll tackle the inner fender and wheel well areas.
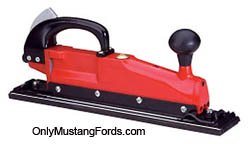
Click on the blue link for more information on the
Long Board Reciprocating Sander Restoration SectionsPart 1 - Mustang Restoration
Return from Mustang restoration to Ford Mustang
Your Mustang Restoration ProjectWhether it's finished or just started - we'd like to see and hear about it. |


