|
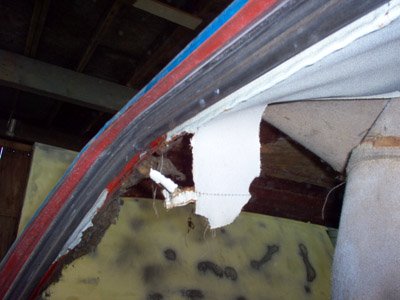
Headliner ReplacementHeadliner replacement is one of the most common restoration tasks. Thanks to the availability of a headliner kit, it's something you can do without the assistance of an upholstery shop. This section deals with headliner replacement, not repair. With a 45 year old car, like my 1965 Mustang, it's not practical, even if you could repair it yourself. The original moonskin material on my classic mustang, was dry and almost brittle. And mice had seen fit to bore holes into it to start nesting.
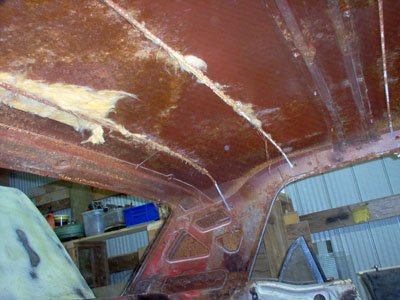
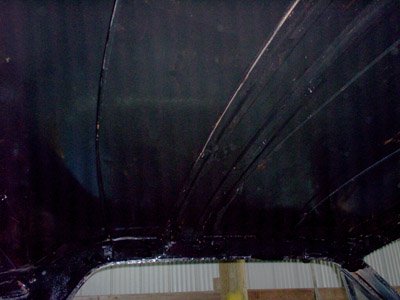
Old Headliner RemovalDepending on what you started with, you may or may not have to remove the old headliner material. My little Ford Mustang had the headliner still attached. The benefit to this is that all of the inner headliner bows are in the right places. This allows you to one by one, remove them, mark them for replacement in the right slots and know that you have all the pieces. My next project (1970 Fastback)won't be so fortunate. All the bows were removed and wrapped together so as not to get lost. Great, but who knows which is which? If you're situation is the latter, your first job is to figure out which bow is which. Teardown and CleanupHeadliner replacement starts with cleaning up the bows and the upper roof panel. My 65 Mustang was in pretty good shape, with a bit of surface rust here and there, meaning a cleanup with a sander and some 80 grit paper. Following any surface rust removal, you may want to seal the surface with either primer and paint, or a good rust preventative and paint like POR15. Mine's getting a coat of POR. Roof Bow CleanupNext we want to remove any surface rust on the bows, which is pretty much guaranteed. This not only preserves the metal, it also make a nice slippery surface for the new headliner material to slide over. Dollars to donuts, your roof bows are rusty or corroded. Not to worry. Some sandpaper or emery cloth and a little elbow grease will make them good for another 40 odd years. Mirrors, shades and Stuff
Windlace is the metal reinforced strip of leather textured material you see at the rear quarter windows that hides the edges of your old headliner material. It's easy to remove. Just find the end and pull. Roof Rust Removal and Surface PrepOnce the headliner and sound deadener (fiberglass mat) is removed, you'll probably find a bunch of surface rust. So give it a good all over sanding to remove surface rust and treat it with a good rust killer and preventative.
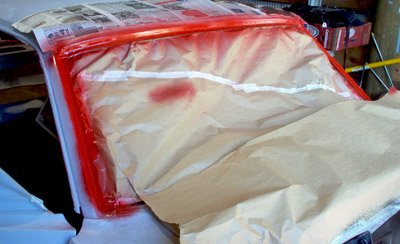
Headliner InstallationWait ! Not quite yet. There's a few more things we need to get ready before we start doing new headliner replacement. We need to clean up the old glue and any rust or sharp edges on the parts where the new headliner will be attached. This takes us to a Big Issue for replacement Windshield in or windshield out? The "easy" way to do headliner self repair on a classic mustang is to have the front and rear windshields removed. That's because the Moonskin material is glued to the lip under the windshield. Go Figure..... If your glass is still in, you're going to have to work a lot harder to get things smoothed out and looking good. So.... This is the time to either bite the bullet and remove the glass, or see your local neighborhood upholstery shop. Or, maybe just enjoy that rustic looking original headliner a bit longer. If you're replacing your headliner, but don't need to repaint your car, that makes things easier. But this particular 1965 Mustang restoration needs everything, so other details need to be ready too. Attachment Points: Your headliner is glued to both, the front and rear windshield lip, where the windshield is glued to the body. So once you have the glass out, that lip needs to have all the old glue and remnants of the original moonskin vinyl removed. Then the surface can be painted and ready to go. Part 2 Headliner KitThe 1965 Mustang headliner replacement part 2 details how to install the new 1965 Mustang bow headliner kit. StThis must be done in warm weather or a warm shop. For a long time, I had neither, so I spent my time getting things ready for the big day. By the Way: The reason a warm shop or warm weather is absolutely necessary, for headliner replacement, is because the new reproduction Moonskin vinyl material used in the headliner reacts to heat by expanding and shrinks in cool weather. So... If you make a nice tight fitting headliner in cold weather, you can end up with a sagging, lousy looking one in warm weather when the material expands. And you really don't want to take out the windshield glass again! Restoration SectionsPart 1 - Mustang Restoration Index
Return from headliner replacement to Ford Mustang |


