|
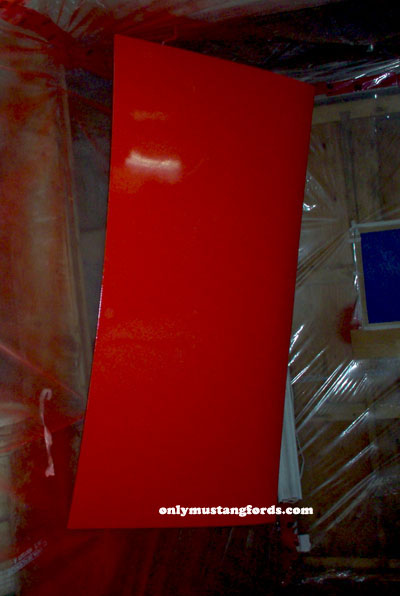
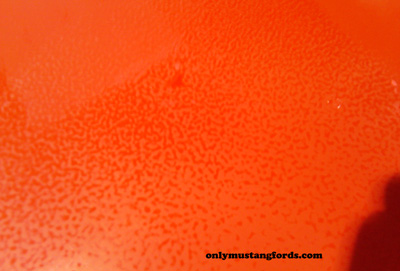
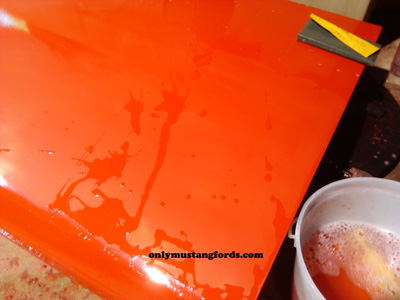
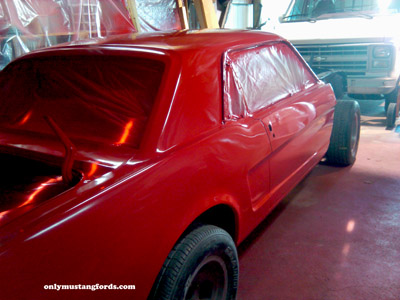
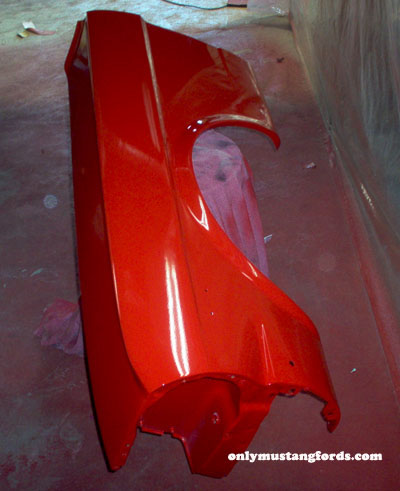
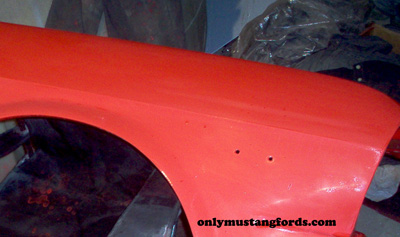
What is Color Sanding and Wet Sanding ?Color sanding is a special kind of wet sanding which combined with other steps, can produce that mirror like show car finish. Differences Between Sanding TypesBefore we get into how to do it, it's important to talk a bit about what it is, why color sand and what's the difference between color and wet sanding. Looking at the picture above, of the newly painted trunk lid from my 1965 Mustang restoration you might have noticed something. The reflection of the lights in my makeshift paint booth look a bit blurry. That's because the surface of the trunk is slightly bumpy from spraying the atomized paint onto the surface. Also, for part of the paint job, I had to switch to a new, environmentally friendlier single stage urethane paint, which I hadn't used before. This new paint didn't go on the same way the other urethane had, resulting in a less smooth surface on some other parts of the car. This bumpy appearance is known as "orange peel" since it closely resembles the skin of an orange. What Is Wet Sanding ?wet sanding, is using specially coated sandpaper, usually called "wet or dry" sandpaper, although there is also wet sandpaper, which is used only with water. Wet sanding is done by soaking the paper in water for about 20 minutes and sanding the paint, while keeping the surface moist. This is handy for the higher grades of sanding, for paint prep, from about P240, which is considered to be a micro-grit paper. These finer grits, when soaked and used with water, produce no airborne dust and are popular for both, sanding old paint in preparation for a new paint job, as well as sanding between color coats. Along with the lack of dust, it helps prevent paper clogging, since you can just dip the paper in the water to unclog it. What Is Color Sanding ?First off, when you color sand, you are wetsanding your paint. The color part comes from the color of the water, from sanding off a layer of your color coat and originates from the older single step paints. The very first painted cars were done this way for a very good reason. The paint was applied by brush, of course leaving brush marks and lines. To get that glossy look of fine furniture on the horseless carriage, you needed to sand down the marks and polish the heck out of it. And like fine furniture, you'd wax it to make it even shinier and to protect the paint from the elements. Today, the term is used interchangeably for sanding either a new single stage paint, or clear coat. Color Sanding New PaintIn my case, I decided to use a new single stage urethane paint, which combines a highly pigmented paint combined with clear to produce a very likely glossier version of the original single stage factory paint jobs. Why am I color sanding it ? Even if I hadn't had to work with a new paint I wasn't used to applying, that's not the only reason. It's also because I'm a non professional, painting my own car in my shop and I just don't trust the amount of ventilation and my ability to keep dust and trash out of the paint. But I know, that if I invest some time and elbow grease, I can produce a paint finish on my 1965 Mustang restoration, that's better than anything that just rolled out of a professional paint booth. Step 1- Sanding with 1000 to 1200 Grit PaperDepending on the amount of surface issues and how much paint you have to work with, the lowest grit you use should be about 1000. I've used 1000 grit on the heavier orange peel and went to 1200 for the better, flatter surfaces to hopefully not risk "burning through" into the primer. Note: Stay away from sharp edges, as that is where the paint is thinnest. If you don't have a steady hand, you can use fine masking or pin striping tape to protect the edges. How to Fix Paint Burn Through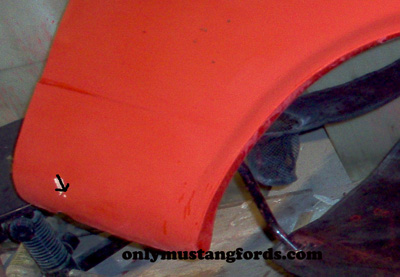
If I decided I wanted to still add a couple layers of clear coat, I could just respray that area with my touch up gun or airbrush, color sand it again and add the clearcoat. If I want to stay single stage, I can do the same thing, without the clear. Or, I suck it up and repaint the fender and start over with the color sanding process. Hmmm... what to do. Color Sanding Step TwoTo get these fine scratches out, produced by the 1000 or 1200 grit paper, we repeat the process, this time using 2000 grit sandpaper. And of course, the same issues apply. If you got lucky the first step and then burnt through the paint, you'll have to start back at square one. If you completed your 2000 grit wet sanding and everything's still good, it's on to polishing compound and swirl removal, which will be covered in a separate article. Some people will go right up to 3000 grit to make the polishing go faster, but it's probably preference, rather than a specific necessity. So just do whatever works for you. What To Do About Scratches Occasionally you'll get some deeper scratches caused by either a piece of dirt dragged by your paper onto the paint, or finer scratches that don't come out with the 2000 grit. That just means you have to back up and repeat the steps again. Typically this shows up later at the polishing or 3000 grit stage and means you have to redo (just this area) with 1200 and 2000 again. One Last Note About Clear Coat Color SandingThe above steps are exactly the same for sanding out clearcoat. The only differences are that the residue will be white, not the color of the base coat. If you do see color, stop immediately as you've burned through the clear, right into the base coat, which means you'll either need to re-clear the area, or the whole part and start the sequence again! Alternative Reasons for Color and Wet SandingMaybe you have older paint, that's decent but getting a bit old and scratched up. Or maybe your newer base coat clearcoat factory paint just seems to have too much orange peel. You can use it to spruce up these paint issues too. Be aware though, that factory paint, while usually more uniform than aftermarket paint jobs, is also thinner than what you'd see from a local body shop. So its even more important to be careful in the process. Coming Up: Compounding and PolishingStay tuned for the next step, which will finally bring you to that mirror look finish. Coming up, will be the final machine compounding and polishing, that will bring that smooth sating finish up to show car standards. Stay tuned and learn how to get those results at a fraction of the cost! Mustang Restoration SectionsPart 1 - Mustang Restoration Index |


