|
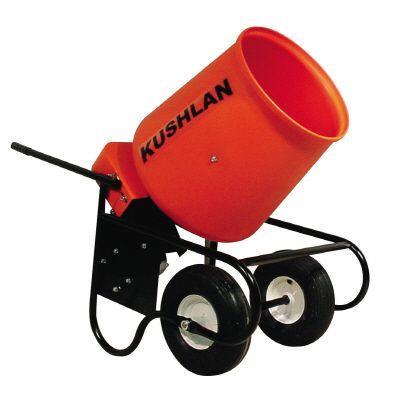
Small Metal Part CleaningEasy Restoration of Brackets,Bolts And BushingsSmall metal part cleaning can be a pain, but necessary in some cases where you either can't get replacement parts, or rusting and corrosion have made passable parts needing a clean up before paint or other refinishing. Replacing Small Parts is Too ExpensiveIf you're doing a budget restoration, you know how quickly small amounts add up into big bucks. And many times, the classic car parts that aftermarket classic parts companies supply are similar, but not exactly the same as the original equipment parts. Quick Cheap Easy And Automated Small Part CleaningHere's how to quickly rescue a bunch of these small items, using a small electric cement mixer! Stone Washed PartsStonewashed jeans are created by tumbling new pairs of jeans in a mixture of stones and sand. Well, we're going to use the same stone washing effect to get those small rusty or corroded parts clean. It's not for chrome or plastic pieces, but works great for bolts, rubber pieces,bushings,pain coated nuts as well as small brackets, motor mounts, z-bar pieces and other small metal pieces. I also like it for cleaning up rubber grommets and gaskets, that are covered in paint, but in good condition. Materials And Supplies Required- Portable electric Cement mixer (available from tool rental stores)- 1-2 bags of sandblasting sand (depending on mixer size)available from most auto parts and welding supply stores- 5 gallon buckets or small garbage pail -12" square bug screen in a wooden frame- bungee cords Small Metal Part Cleaning Method
When the cleaning cycle is complete, carefully pour or drag the mixture out of the mouth of the mixer allowing it to sift through the screen into the 5 gallon pail, trapping your parts in the screen. Now all those classic Mustang parts are clean and ready for final restoration. Wasn't that easy? |


